Winter Wedding Makeup Tutorial
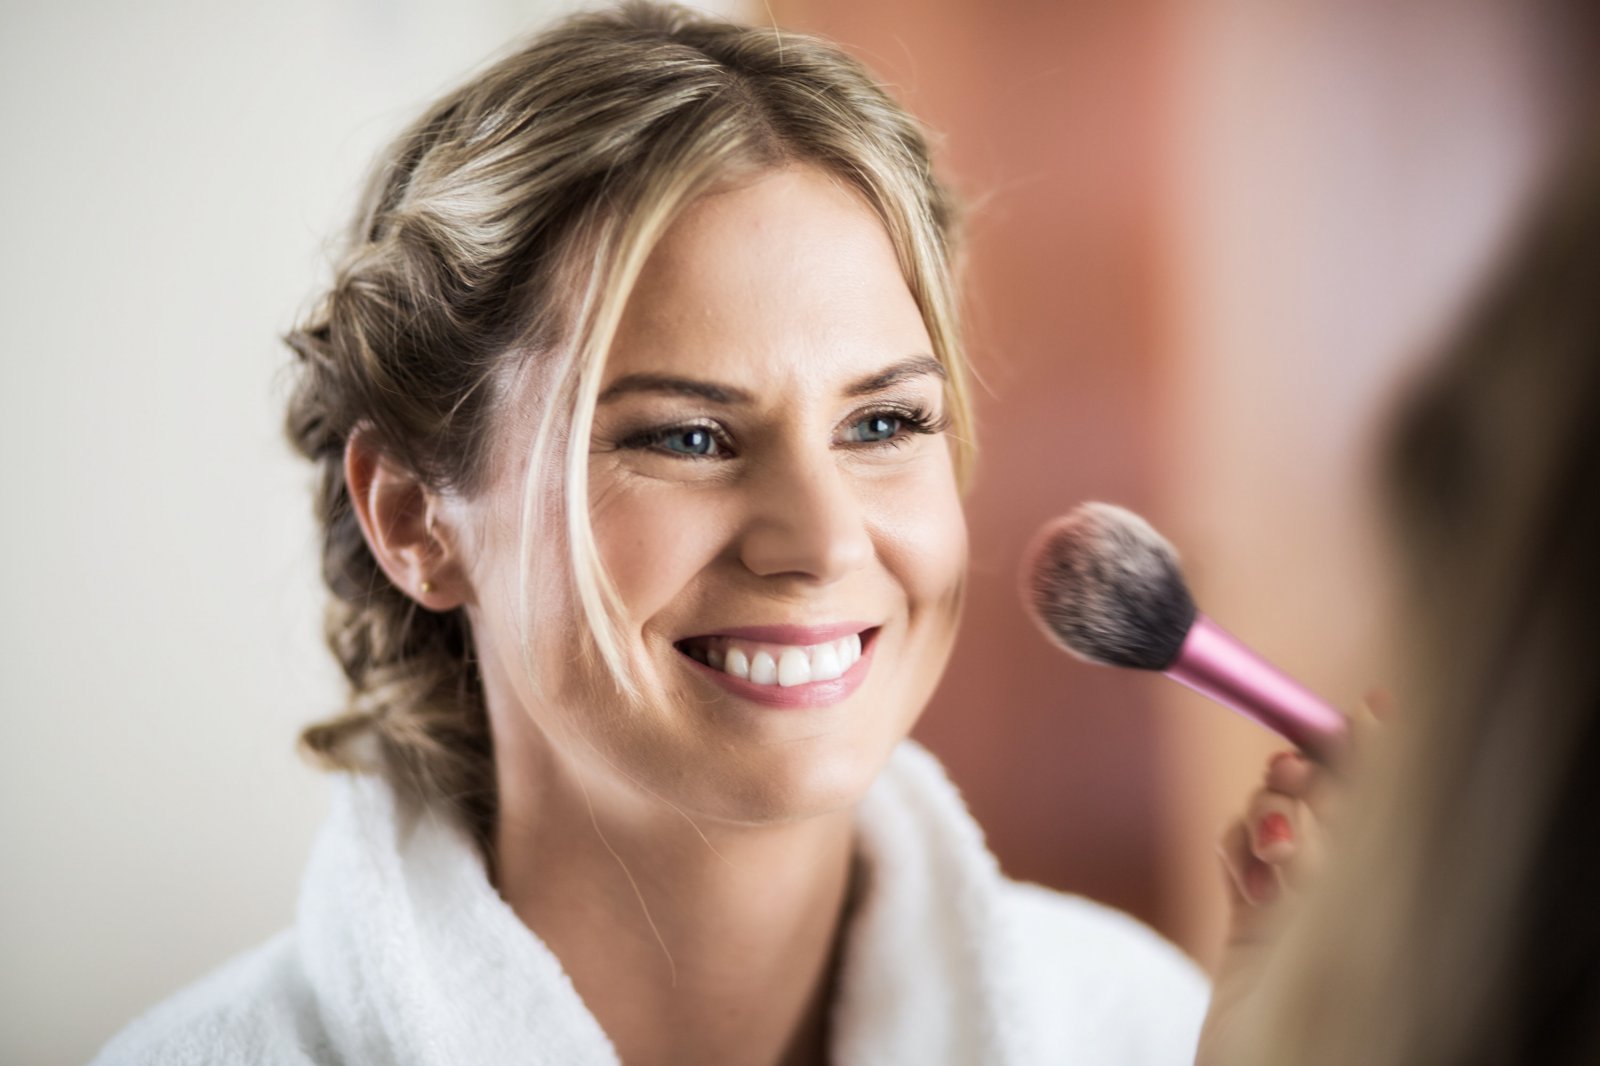
We're well versed in the art of sunkissed summer wedding makeup, but when it comes to autumn and winter looks we often need a little guidance. Today on the blog we have some expert help from bridal makeup artist, Christine Cara Makeup who has provided a step by step guide to perfecting the subtle winter glow, whilst incorporating the season's colours. Over to you Christine...
"Autumn and winter weddings are becoming more and more popular and as a Bridal Makeup artist I get so much inspiration from the beauty of these great seasons. Flower bouquets full of rich oranges, reds and yellows, wedding dresses incorporating beautiful lace long sleeves and utterly gorgeous table displays using natural decorations such a pine cones or dried red berries in the floral display.
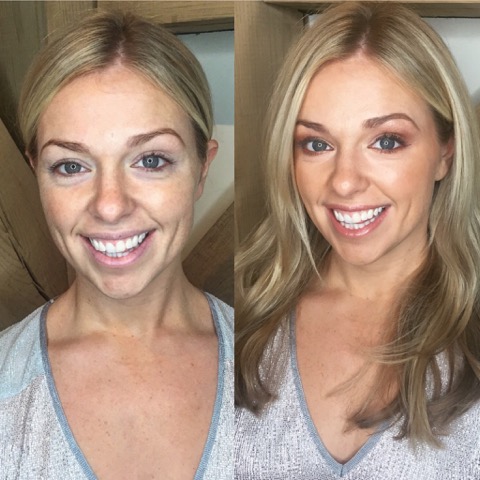
This inspired me to show you an example of a natural bridal look, using colours to compliment the season. As a bonus take a look at the short clip below showing a before, during and after of how I use my HD Airbrush to create a flawless, lasting finish. Airbrushing is something I often use for my bridal clients because of its lasting power and great finish."
Before & After
Step One: Prime time
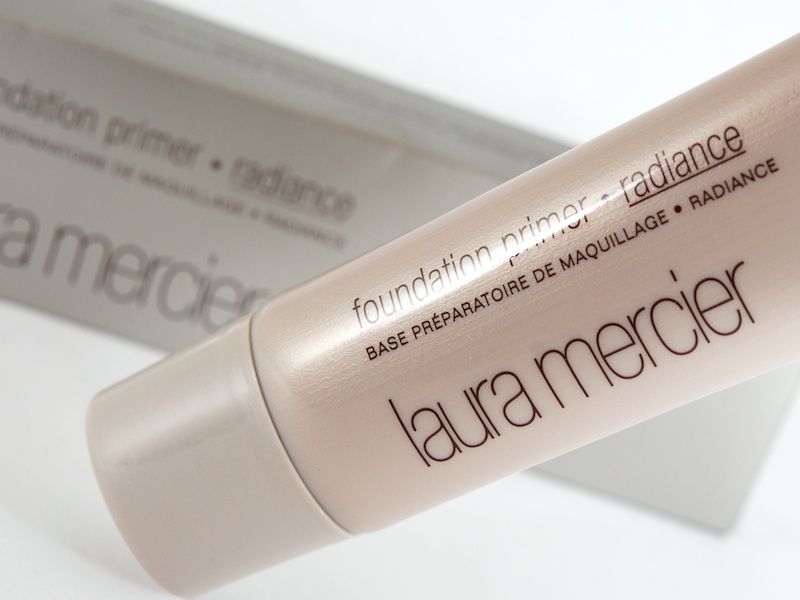
Before airbrushing I tend to use a primer. Which type depends on my client’s skin but for Kirsty I wanted the skin to look dewy and glowing. Therefore I used ‘Laura Mercier- Radiance Primer’
I find this works well under the airbrush make up and gives that healthy, glowing finish without looking shiny.
Step Two: Conceal
Kirsty has gorgeous skin and minimal imperfections however it was important to conceal around Kirsty’s eye area.
I know from years of experience the biggest difference made for Brides and for the all-important photos’ is having the area under the eye looking bright and awake.
I’m sure if you’re a bride reading this you may be thinking ‘yep, I may need that on the day’! I understand there is an awful lot to organize for a wedding and I’m sure whether you’ve had a few sleepless nights or perhaps the hen party is expected be a late one, this next trick is going to appeal to you.
Banish dark circles - Correct and Conceal
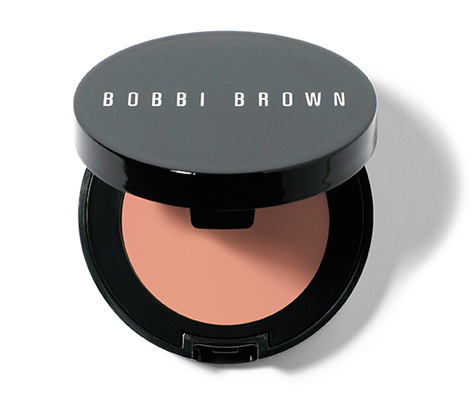
I’ve got to thank Bobbi Brown for this product and technique. She created a corrector and concealer kit that allows you first neutralize dark shadows so that it instantly brightens, you then you use your concealer to finish. Many people have trouble when just using a concealer as it still looks dark or can appear slightly grey. Now that’s where the corrector works its magic, it stops that greyness in its tracks so that your concealer looks bright and flawless. It fakes an extra 8 hours sleep!
You don’t have to use Bobbi Browns products to do this, as long as you are using that technique of correcting before concealing it will work.
Bobbi Brown neutralising corrector come in 16 different shades...
Step Three: Get flawless skin!
HD Airbrush! The beauty of airbrushing is that you can apply foundation, bronzer, blusher and highlighter all through the airbrush. This technique ensures your not mixing textures and sits incredibly evenly on the skin. It also takes less time to apply than using normal make up.
Airbase makeup is applied to the skin using an airbrush gun. A fine mist of the product is evenly sprayed directly onto the skin, giving an utterly flawless and even finish. These fine, tiny particles of makeup are applied with air to the skin to help even the skin tone and smooth over any imperfections.
It just has that unbeatable finish!
Step Four: Everything about those eyes
I created subtle slightly smoked eye’s using coppers, browns and bronzes. Natural but still beautifully enhances all of Kirstys best features so she still feels like her self only better!
This eye make up is uber simple but effective, using lighter to darker tones to create light and shade. I also used a rich chocolate brown eye liner for the top lid to give volume and definition to the lashes and enhance the eyes. We also very slightly enhanced Kirsty’s eyebrows with an eye grow gel so that they frame the face and give extra definition to the over all look.
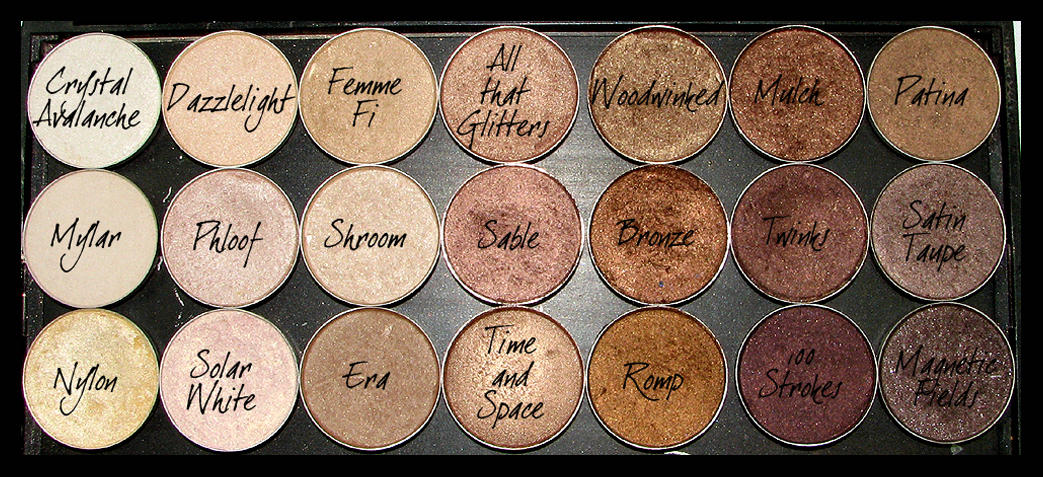
Eye shadow’s I’ve used:
• Base colour- MAC Cosmetics All that Glitters
• Mid tone bronze on lid- MAC Cosmetics Sable & Romp
• Crease colours for definition and smoked effect- MAC Cosmetics Bronze & Mulch
• Eye Liner- Bobbi Brown Chocolate Shimmer Gel Liner
Step Five: Lets not forget lips!
Finally we finished with the lips, a soft colour with a berry under tone to stay in keeping with the look. Secondly using a touch of a light gloss to give a sheer finish as well as keeping the lips moisturized for the colder weather.
About Christine:
Working predominantly in the Cotswolds and Midlands, Christine a professional makeup artists with a background in television and fashion. She loves nothing more than making a bride and her bridal party look and feel great on the day of the wedding, and crucially that they feel relaxed and at ease in her capable hands.
You can contact Christine to book your wedding here.
